26 Days In The Wilderness…
It’s hard to believe that in the state of California (a place that’s 1.8 times larger than the United Kingdom and home to more than 38 million people) you can actually walk 211 miles without having to cross a road!
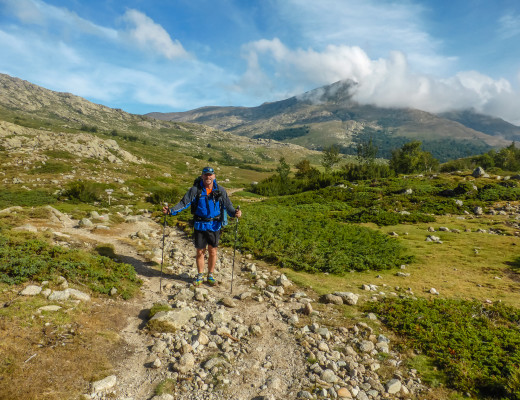
Hiking this distance, whilst being completely self-sufficient takes a lot of planning. Read about our final preparations before we set off on our third long-distance hike – the much awaited John Muir Trail in the USA.
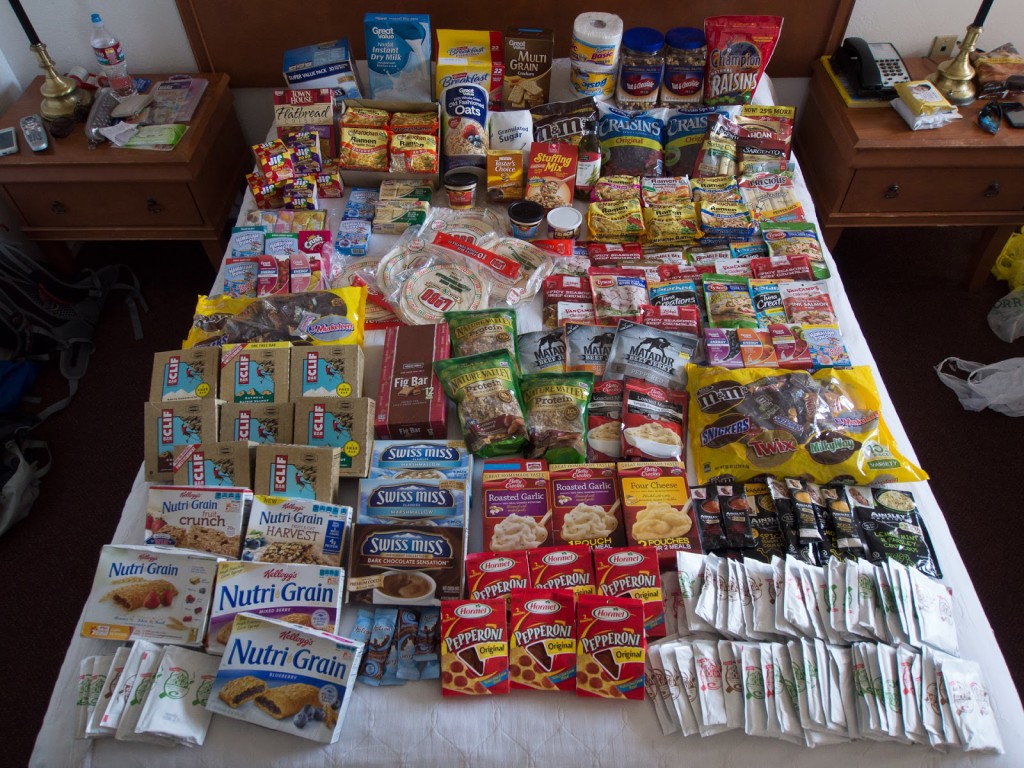
Our ‘hiker rations’ for 26 days!
1. Obtaining A Permit
We would stress that the most important, but also the most difficult thing we found even before setting foot on the John Muir Trail was obtaining a ‘Wilderness Permit’ allowing us access to the trail. As the JMT has become so popular, only a specific quota of people are allowed onto the trail per day to minimise impact on the landscape, so getting a permit can be like winning the lottery. We feel very lucky that it took us only four attempts until we successfully acquired a permit reservation from Yosemite National Park. (We just kept trying for different dates and different trailhead starting points hoping that one of our applications would finally be accepted!)
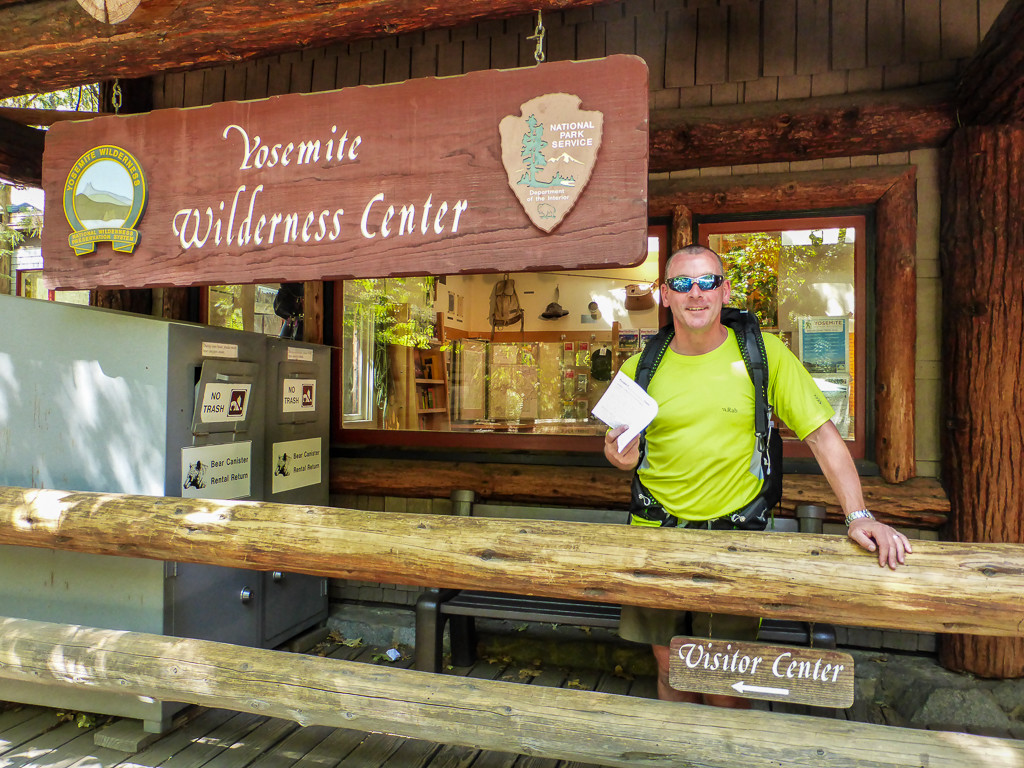
Collecting our permit from the ‘Wilderness Centre’ in Yosemite National Park the day prior to setting off on the trail.
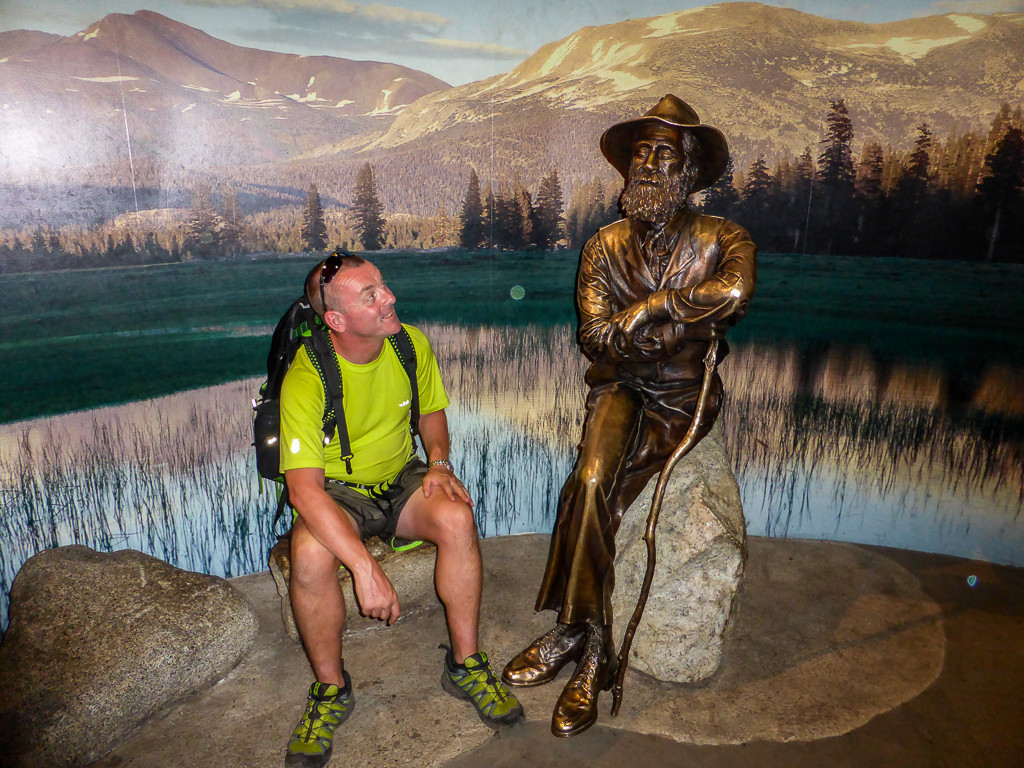
Wayne with the main man himself – Mr John Muir. (Yosemite Visitor Centre).
2. Purchasing A Bear Canister
The second most important thing after your permit reservation has been confirmed, is to acquire yourself a ‘bear proof container’, either by purchasing one from a hiking gear shop such as the REI Store, or by renting one direct from the Yosemite Wilderness Centre. It is a legal requirement for camping overnight in the backcountry that all food stuffs, plus anything else that has a scent, (such as toiletries, medication etc) are kept in a lockable container that prevents access by a bear. We bought our ‘Bear Vault 500’ bear canisters from the Sports Basement Store in San Francisco after arriving in the US as the REI Store was completely sold out! We liked the see-through design of this model better and also thought the lid fastening system was easier than the traditional Bearikade design. As we are doing a 50 day road trip after the JMT, it made more sense for us to buy our bear canisters as opposed to renting them as it worked out cheaper overall. We’re taking them home with us too as they make rather good souvenirs! (I’m thinking they may even make a good ‘punch bowl’ at this year’s Christmas party!)
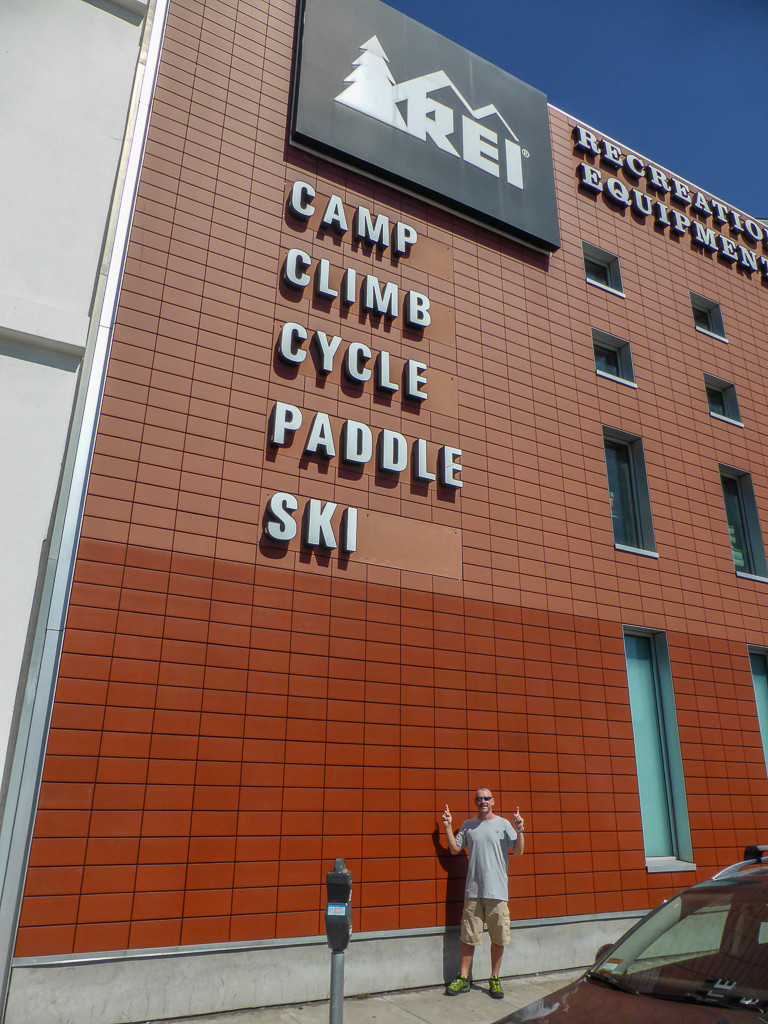
Visiting ‘The REI Store’ in San Francisco.
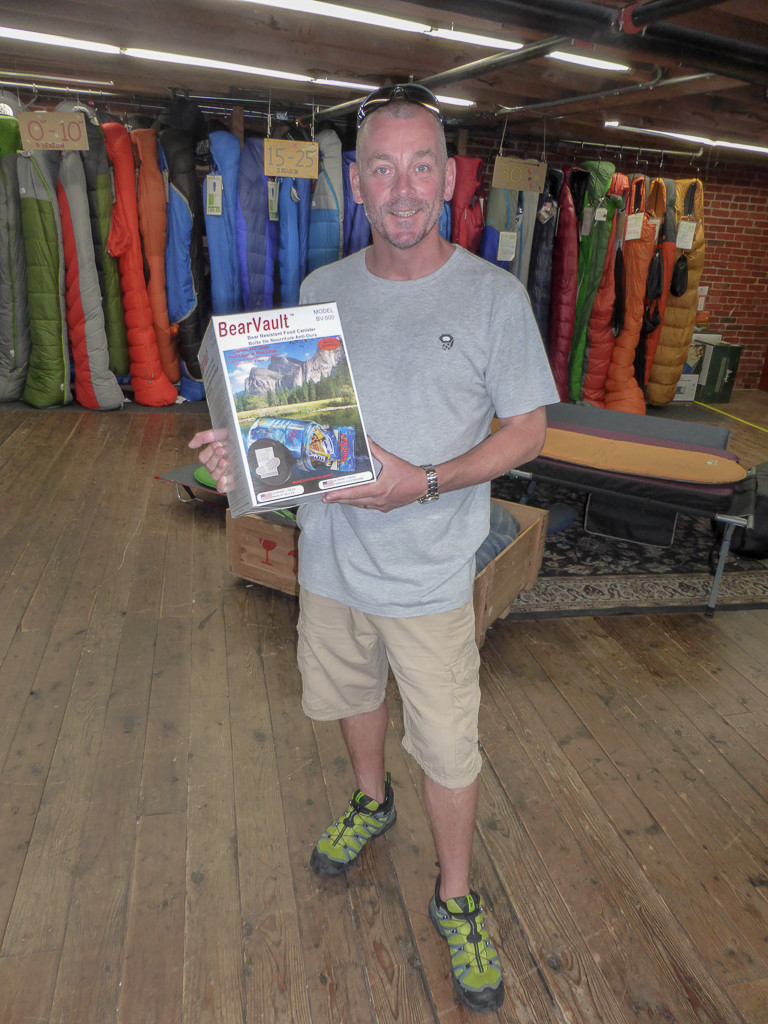
As REI were out of stock, we purchased ‘Bear Vault’ bear canisters from ‘Sports Basement’.
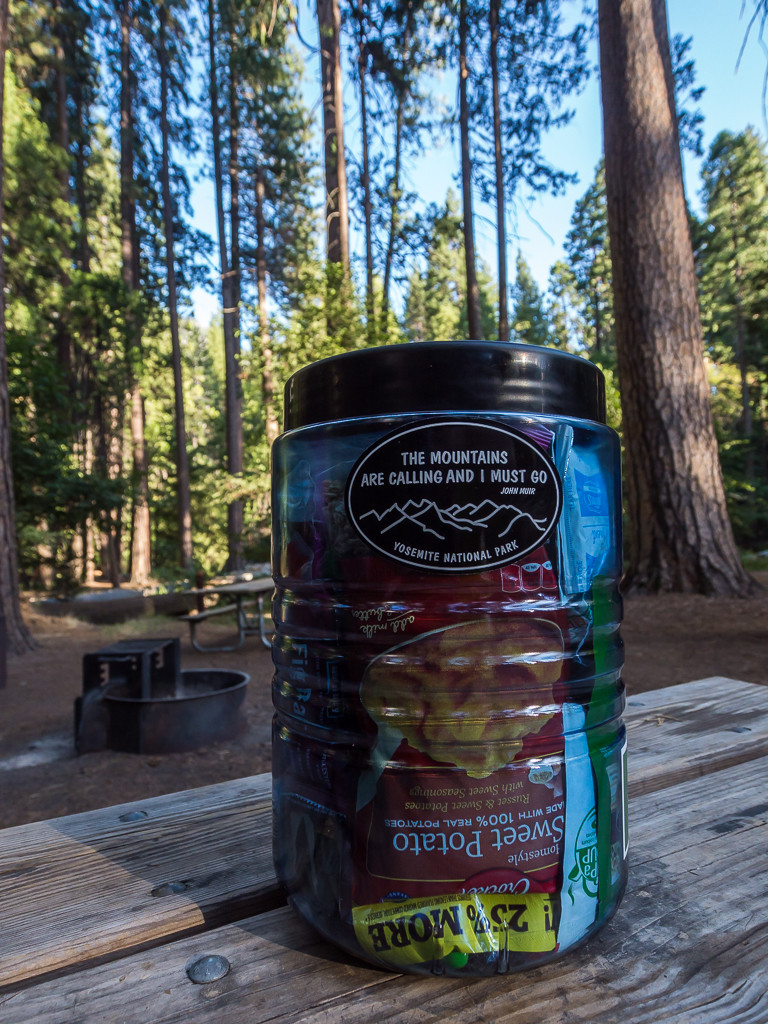
A very full bear canister before we set off!
3. Selecting Easy Cook Hiking Meals
Being in the wilderness for 26 days means we had to do a whole lot of shopping before we set off! As we only had 3 re-supply points along the JMT (where you divert off the trail to collect food you have mailed to yourself), we had to be really organised, working out precisely what we would need at each stage. We needed breakfasts, lunches and dinners, as well as snacks for the 26 days. But our food had to be ‘easy cook’ – meaning it had to cook in less than 3 minutes to minimise our use of gas, or be something that you basically add boiling water to. We didn’t want to spend lots of money on pre-packaged dehydrated hiker meals, so we came up with our own menu. We both agree that variety is key and a good meal keeps up your morale, so we worked out different meals based on a 5 night rotation. (More details of that will come in our JMT diary posts).
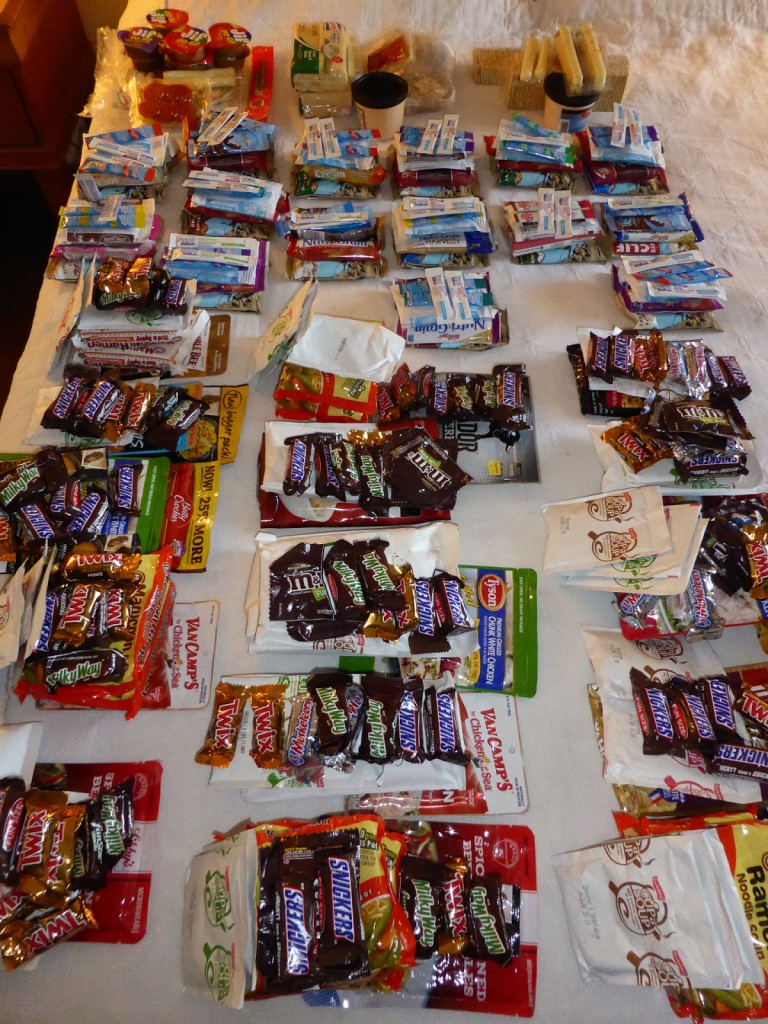
Our meals and snacks organised into daily portions.
4. Posting Food Re-Supplies & Choosing Collection Points
Depending on your itinerary and how many days you plan on spending in the wilderness, is what will determine how many re-supply food parcels you will need. We used the US Postal Service to send all three of our food parcels. The price is based on weight as well as the distance they are being sent, so it was relatively cheap posting them from Merced, where we did all of our shopping, as it is in the state of California and on route to Yosemite, which is why it was a convenient place for us to stay for a few days to get all of this organised.
We started off by carrying 5 days of food between us in our bear canisters. Then we sent our first parcel to the Tuolumne Meadows Post Office to collect on Day 5. There is no charge to collect from here. We sent our second re-supply parcel to collect on Day 10 from Red’s Meadow Store. There is a $35 fee to pick up your parcel from Red’s as they actually collect it from the Mammoth Post Office for you and bring it to the store, which is just off the JMT. Our third re-supply parcel, which was a giant bucket containing 10 days worth of food rations, was sent to Muir Trail Ranch. This is the final point on the JMT where you can get supplies as it is so remote. To collect a bucket from MTR, it costs $65 as it has to be transported to the ranch by mule. We aim to collect our final bucket on Day 15. (We just hope we’ll be able to fit it all in our bear canisters and then be able to carry it!)
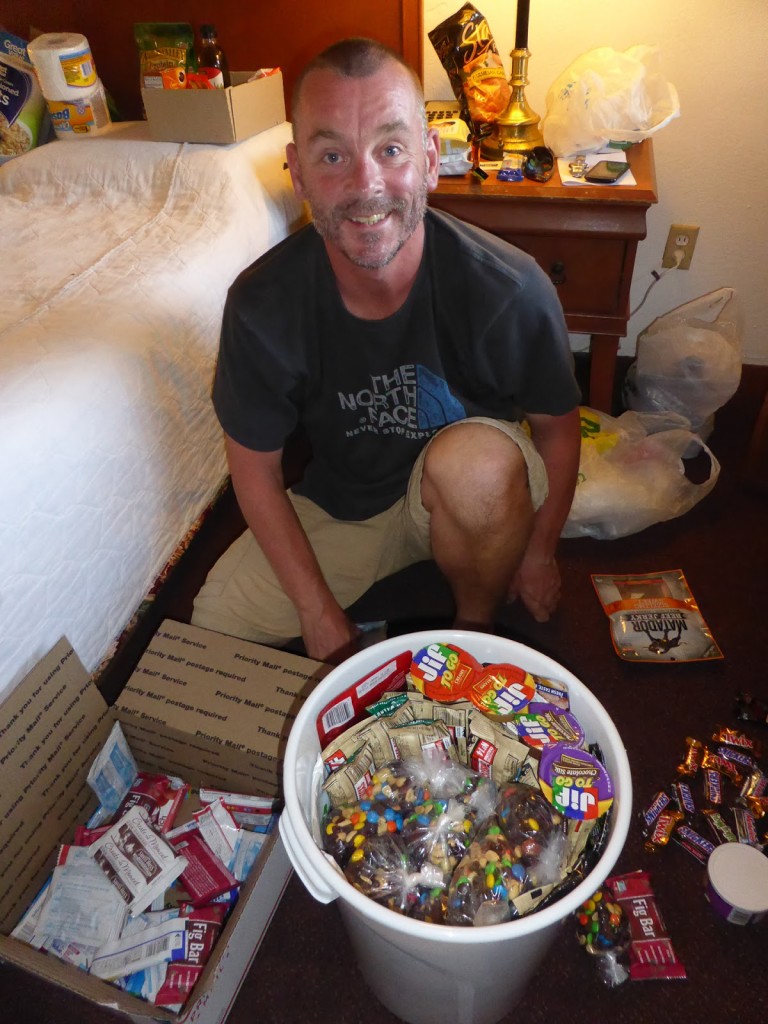
Trying to fit 10 days of food rations in a large bucket to post for collection from Muir Trail Ranch.
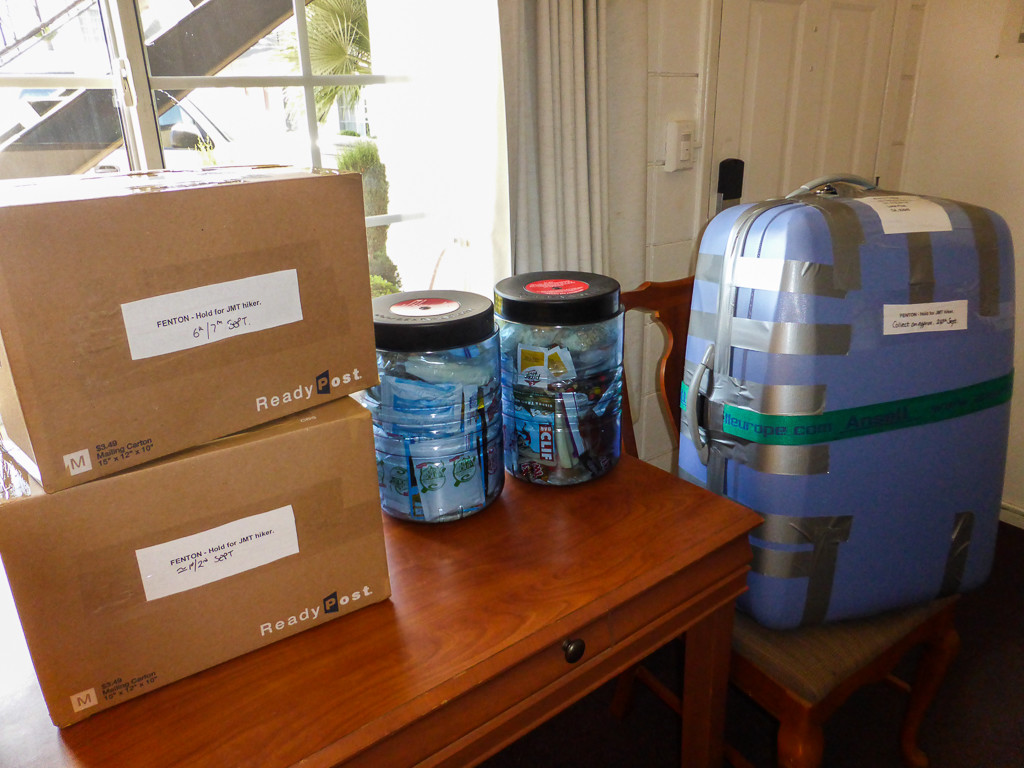
Our two other re-supply food parcels ready to post. Our bears canisters ready to go in our backpacks. Plus our suitcase with laptop, clean clothing and other essentials to post for collection from the Lone Pine Post Office when we finish the JMT!
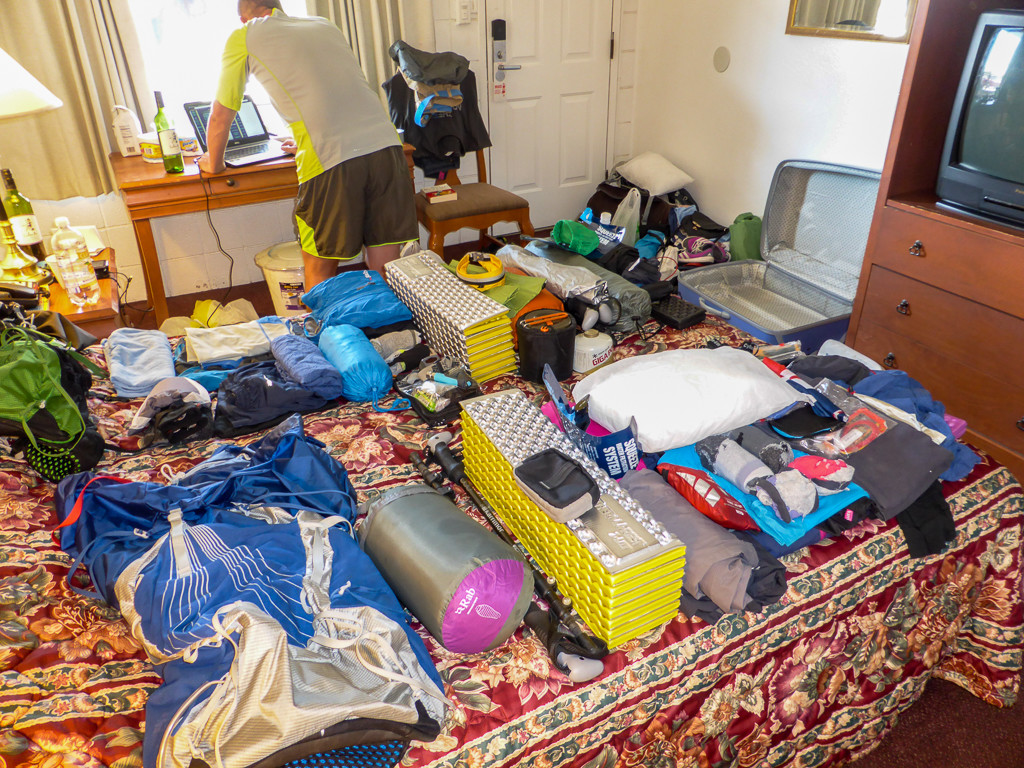
Everything else that has to fit in our backpacks, along with our bear canisters, for hiking the JMT! (And we think we are quite light-weight!)
5. Access To Water
Despite a severe drought in California at present, we’re assuming that we’ll have regular access to water. Established campsites are usually located near to rivers and creeks, so we’ll be relying on our Sawyer Squeeze Filter to provide us with plenty of safe, clean drinking water. We used it in South America on the ‘W’ Trek, as well as throughout our Pennine Way and Coast to Coast hikes without any problems. For this trip, we’ve upgraded our 1 litre pouch to two 64 oz pouches, so that we can each carry one.
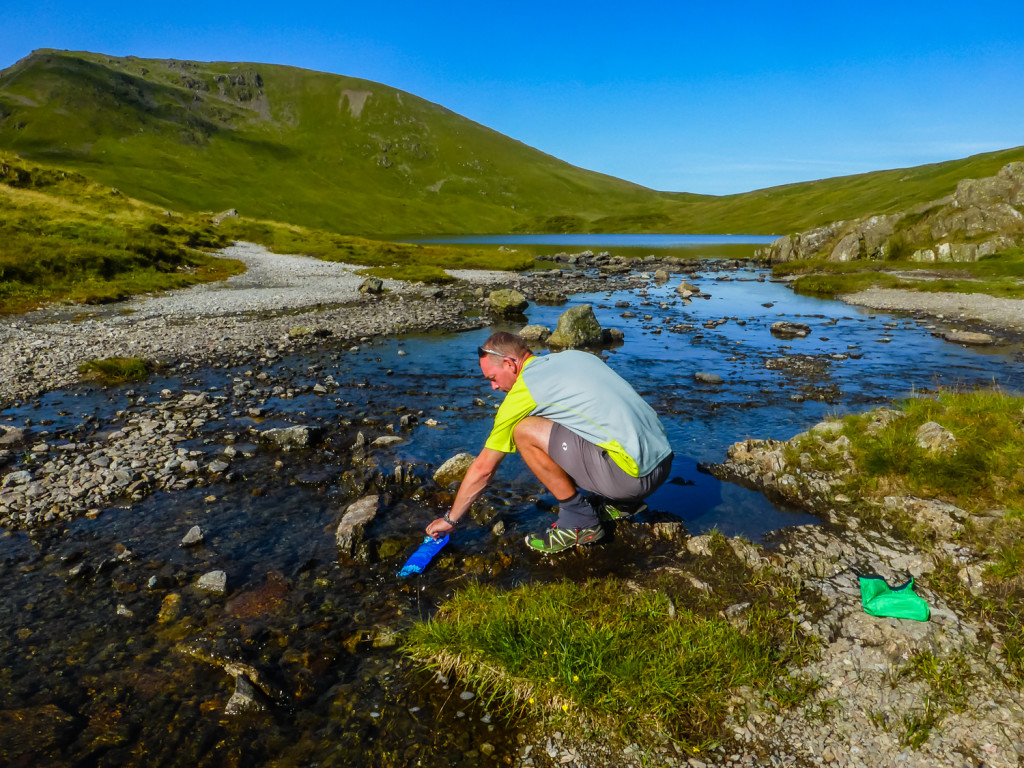
Filling up the Sawyer Squeeze pouch from a stream during our Coast to Coast Hike. Filtering is our tried and tested method for safe, clean drinking water.
6. Making A Change To Our Sleep System
We are more than satisfied with our Rab Neutrino 400 down-filled sleeping bags and think they’ll continue to keep us warm at night on the JMT. What we’re not happy with is the prospect of another blow-out with one of our blow-up sleep pads. It was relatively easy on the Pennine Way to find a hiking shop and purchase a replacement. Not so on the JMT! So as a last minute change to our kit, we decided to purchase Thermarest Z-Lite Mats. They’re a lot bulkier to carry so will have to be strapped to the outside of our packs. I wouldn’t say they’re particularly comfy either being only a few centimetres thick, but more importantly for us, they keep you insulated from the ground and have a silver coating to reflect back your own body heat. So we’re hoping this will be a good switch as my blow-up pad was always deflated by morning meaning I could feel the cold from the ground. We’ll let you know how we get on with them once they’ve been thoroughly tried and tested.
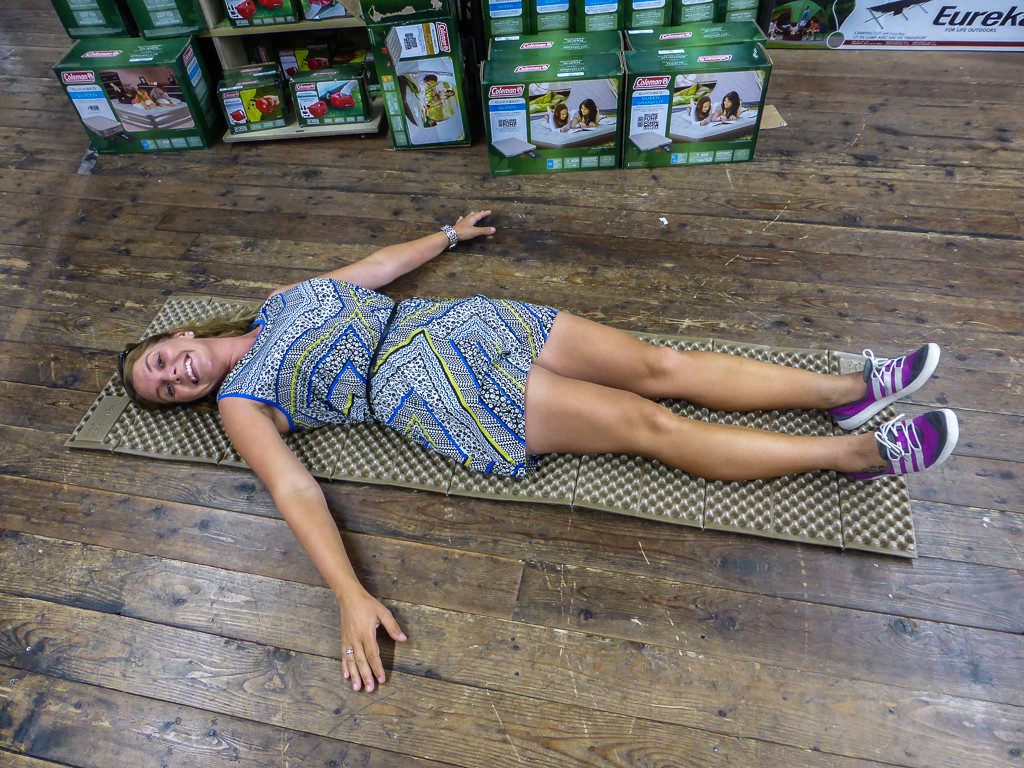
Testing out a Thermarest Z-Lite sleeping mat in store.
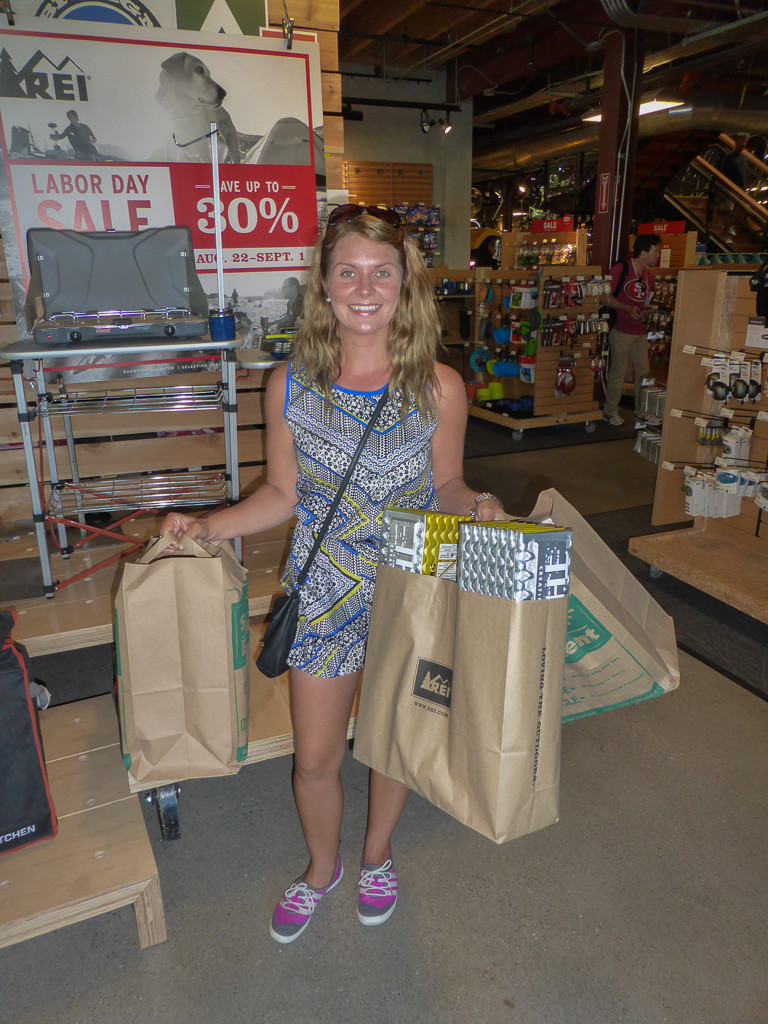
Happy with our final kit purchases!
7. Getting To Yosemite
After flying into San Francisco and purchasing bear canisters and new sleep mats, our next stop was Merced to buy all the food supplies we would need for the JMT. Merced is only a couple of hours drive from Yosemite so we decided it was a good place for access to the National Park, as well as having large supermarkets such as Walmart and Target. (In fact, we got a lot of bits and bobs from Dollar Tree and the Grocery Outlet in Merced, which were much cheaper!) When we left Merced, we took a YARTS bus from the Amtrak Station straight to the Yosemite National Park Visitor Centre for $13 each. It was completely hassle free and a picturesque journey!
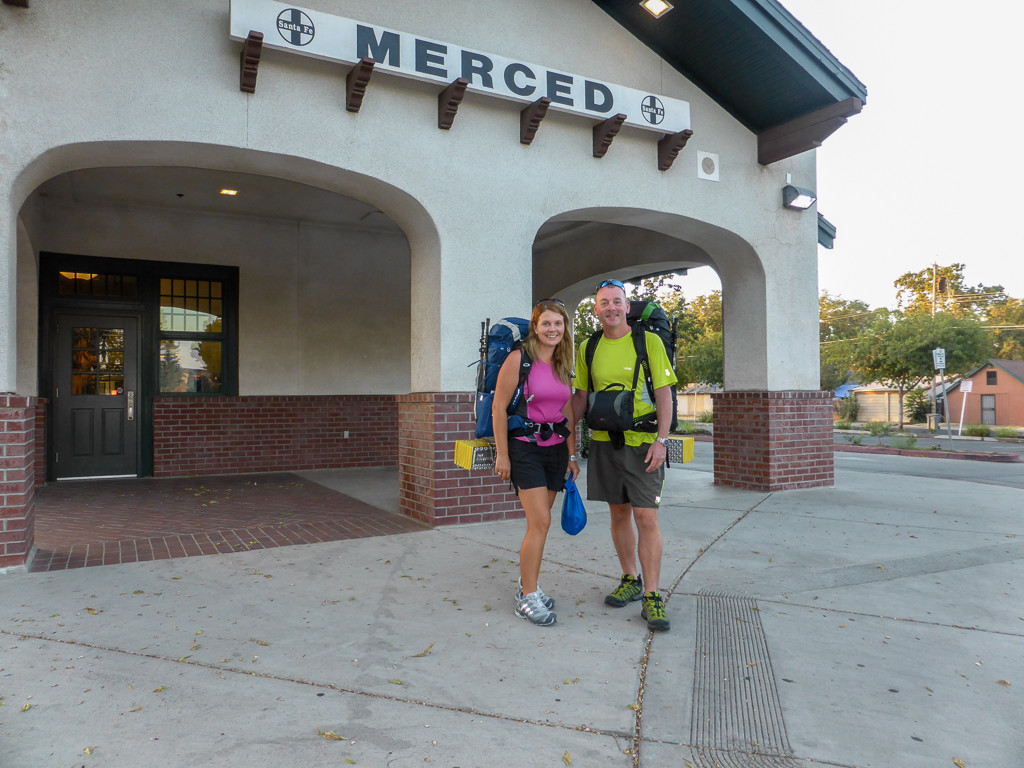
All set to go. Waiting for the YARTS bus at the Amtrak Station in Merced.
8. Collecting Our Permit & WAG Bags
On reaching Yosemite, we headed straight to the Wilderness Centre to collect our permits. On collection, you are given a list of the various regulations you must abide by when hiking and camping in the backcountry. We were also given another essential piece of kit – a WAG bag! A WAG bag or ‘Waste Alleviating Gel’ bag is a system for ‘packing out’ your waste at Mount Whitney, the end point of the JMT. Essentially the WAG bag is a plastic bag with a urine-activated powder to encapsulate and deodorise solid waste. (To put it bluntly, you poo straight into the bag). The waste is then contained using a zip-lock style function to pack it down the mountain. The key thing to remember is what goes up, must come down! Human waste was becoming such a problem on Mount Whitney that in 2006 the Inyo National Forest instituted the mandatory “pack it out” programme. They are a great idea, but we are seriously hoping we don’t have to use them!
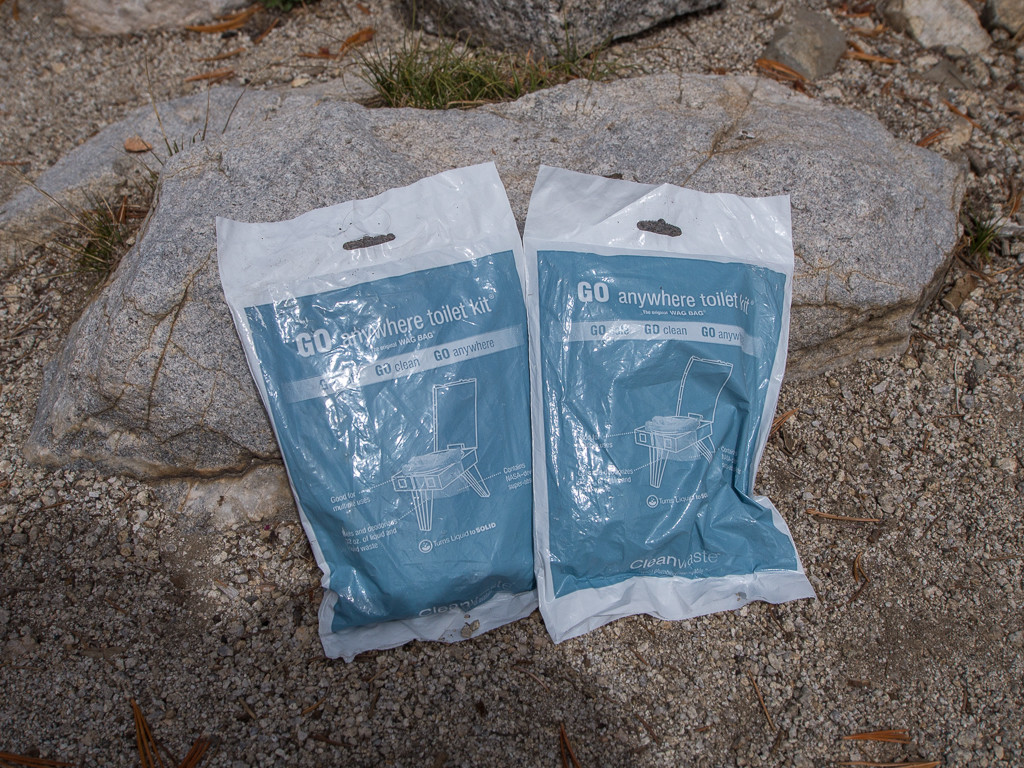
Our WAG bags that we must carry with us 211 miles to Mount Whitney, (just in case we need to go on the mountain!)
Ready To GO!
It has taken us months of planning and preparation back at home. Plus a final week of purchasing, organising and posting here in the USA. But with our bear canisters well-stocked with food, our backpacks fitting snugly and our trail shoes nicely worn in, we are at last ready to head off on the trail! We hope it will be everything we dreamed of and more… See you in 27 days, we’re heading into the wilderness!
8 Comments
Wow. I am in awe of how you organised this and your guts for taking on the adventure. It must all be much harder to get your head around the organisational needs when you are abroad in less familiar territory. Looking forward to the next installments.
Thank you! Wayne did practically all of the planning and checked out lots of reviews on gear etc to make sure we had the right kit so I can't take any credit for that! I am a 'list person' though and super organised! My favourite part of the prep was going shopping for all the hiker food & deciding on meals etc (although a couple of my choices didn't turn out too well as you'll find out in future posts!)
Wow, as David says a great piece of organisation. The walking should be easy after that 😉 Looking forward to the reports
Thanks! Always super organised, must be the teacher in me 🙂
Do you guys have a gear list anywhere ? Things that worked for you, things that didn’t. I am doing C2C this fall and your backpacks don’t look very big so you guys must have a system that really works for you by now. Any info would be really appreciated. Thanks
Ryan,
I created this kit list which is what I took on the JMT. For the C2C I carried a heavier tent. If you can reduce the weight of the big three (tent, pack & sleep system) then that can make a massive difference to your carry weight.
https://lighterpack.com/r/1t4iai
If you have any other questions then please ask.
Hi, I am hoping to send a package of my belongings to Lone Pine, and you mentioned that you did this too. I was wondering how to went about doing this, and how to label your package so they know you are coming to pick it up. Thanks 😀
Hi Niamh, thanks for getting in touch. We sent our big suitcase to Lone Pine from Merced before the start of our hike. We had to address it to ourselves but send it care of the Post Office until the end of the thru-hike. I remember we had to put a label on it explaining we were JMT thru-hikers, with an expected date for collection. We then had to show ID at the Post Office (I think proof of postage recipt as well). I can’t quite remember the exact wording but if you Google it, I’m sure there’ll be more detailed info. The SoCal Hiker’s blog is a wealth of information about the JMT hike, so you may find more detailed info there. The USA Postal Service is excellent and staff are extremely helpful, so I doubt you’ll have any problems.
Good luck with your trip! The JMT is still our favourite thru-hike to date 🙂